Well at least I would like to think they are. That is the beauty of creativity, it can be something to share with others or something intensely personal. I, like a surprising number of people from not just around where I live, but from all over the world seem to have a special relationship with chillies.
 I am here today to present a Hot Topic which I hope you can use in your schools…
Ideation, the formation of ideas or concepts is very personal. In an education environment where we might teach ideation we should apply some structure. Ideation should come from a need, a passion something to solve, improve or replace. This presentation will walk through my ideation process from start to end. My intent is to share the process as well as how I use some of the Adobe tools in my journey.
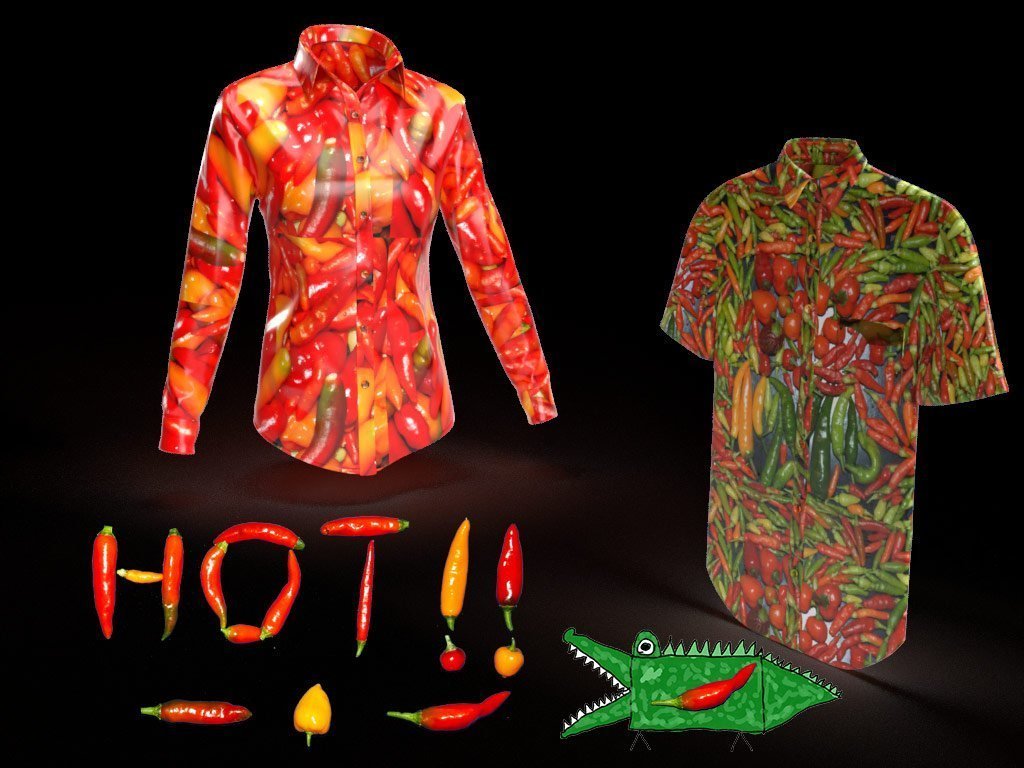
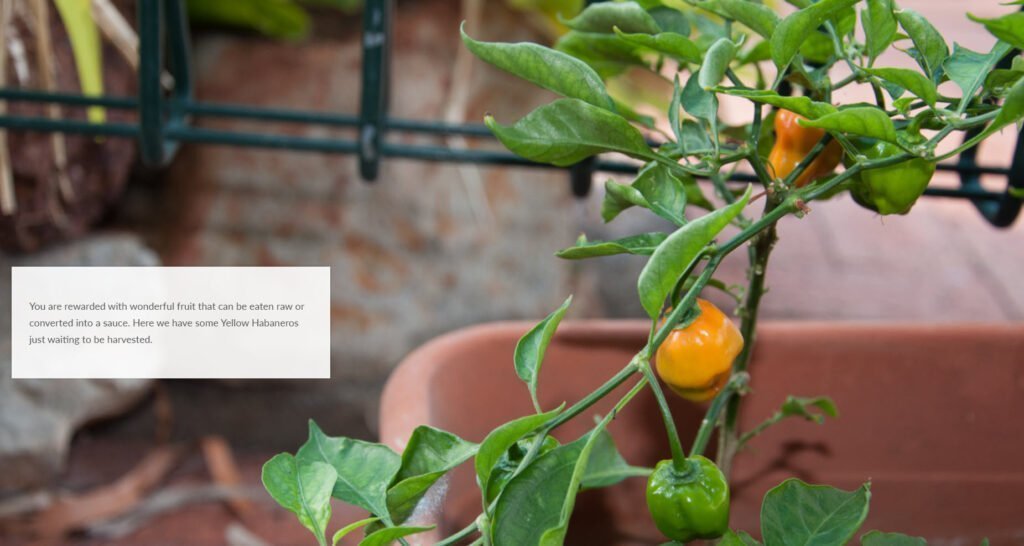
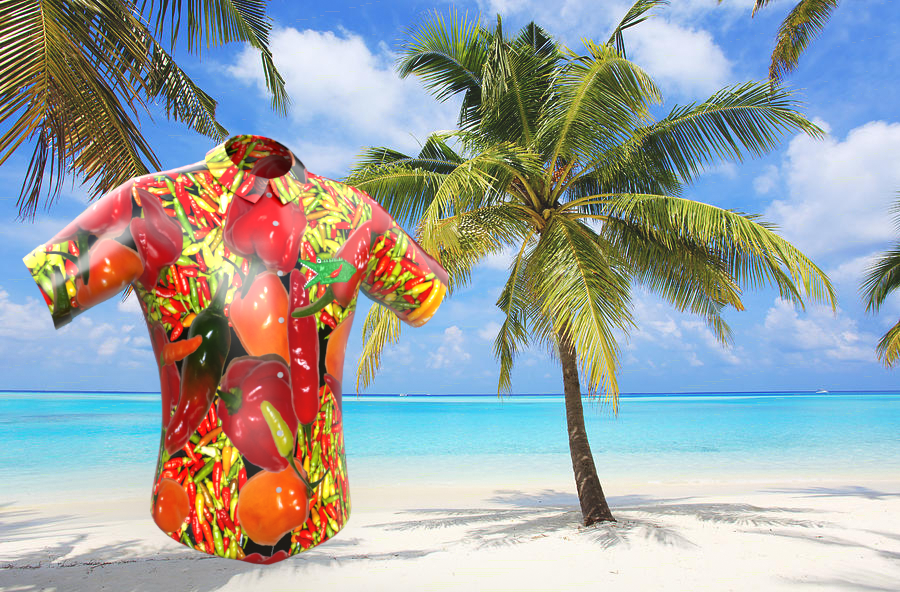
My idea formed when I wanted a chilli Hawaiian shirt. I couldn’t find what I wanted but over the years I had taken many photographs of chillies I had grown.
Could I use those photographs to design and eventually make my own chilli Hawaiian shirt that I was happy with?
Could I capture this process and sharing so that other teachers and students could adapt it to create something that held their passion?
Ideation Process
Ideation is the creative process of generating, developing, and communicating new ideas, where an idea is understood as a basic element of thought that can be either visual, concrete, or abstract. Ideation comprises all stages of a thought cycle, from innovation, to development, to actualization. Ideation can be conducted by individuals, organizations, or crowds. As such, it is an essential part of the design process, both in education and practice.
I researched ideation techniques and looked at the design thinking process and determined there were four key stages.
I had to detail the problem from the customers view. That was quite easy because I was the customer but it meant I had to provide detail and set some parameters and boundaries of what I wanted to create.
With a few rules and boundaries in place, I’ll call them specifications, these specifications gave me the freedom to generate ideas within a defined creation area. By not having idea of a specification, you risk embarking on a never-ending journey where nothing gets created.
Make sure you check out the Adobe Education exchange which has over 1000 learning objects tagged ideation which clearly means it is a hot topic…

![]() 1000+ Ideation Resources on the Education Exchange
1000+ Ideation Resources on the Education Exchange
Application and Benefits in NT Education
Although iDeation should not be constrained by rules and process, in todays world of plans, budgets, outcomes and benefits it is useful to define benefits for your cohort (even if it is yourself) Here were mine for our Department of Education.
My value proposition for remote multimodal skills education in the Northern Territory and benefits…
- Introduces teachers and students to entire material production process
- Provides a potential employment pathway for remote participants
- Can be contextualised to any personal pattern, image or art object
- Introduces teachers and parents to multimedia creation tools
- Provides examples of creating digital promotion content from their creations
- Demonstrates ways to minimise logistic shipping and reprints
- Doesn’t have to be about chillies or shirts…
But mine is!
If you don’t have a destination and a map, you may never reach where you are going. Setting a goal, and including what you think or know about tasks needed to get there along with any constraints (money, time, skills, support) into a project concept or plan will give you that roadmap.
In my case the ideas were about creating a number of designs using chillies in a way that could be printed onto cloth and then tailored into a Hawaiian shirt.
![]()
Constraints, tasks and expectations – my specification
Objective – create a real Hawaiian shirt with a chilli pattern and a logo
I Must:
- Use photos of my own chillies I have grown
- Make selection from Lightroom photo library shortlist
- Save chosen images to CC Libraries so they can be worked on anywhere
- Clean up the image edges in Photoshop
- Set the image size and resolution for print
- Create a seamless pattern in photoshop
- design and prototype the pattern on a 3D shirt model chosen from Adobe Stock
- Create several pattern mockups to be used in an online web shop or brochure – Dimension and Photoshop
- Make final selection for material print
- Change the offset on the canvas to match pattern cutting for shirt so that seams match
- Design a unique shirt brand logo – Fresco, Photoshop
- choose the type of cloth that provides best colour fastness and wearability
- Print at least two versions on 20cm squared cloth swatches or on A4 paper to guage look and size
- Print a swatch on the selected cloth to confirm colour and print shape/size – repeat until happy – no more than 3 attempts
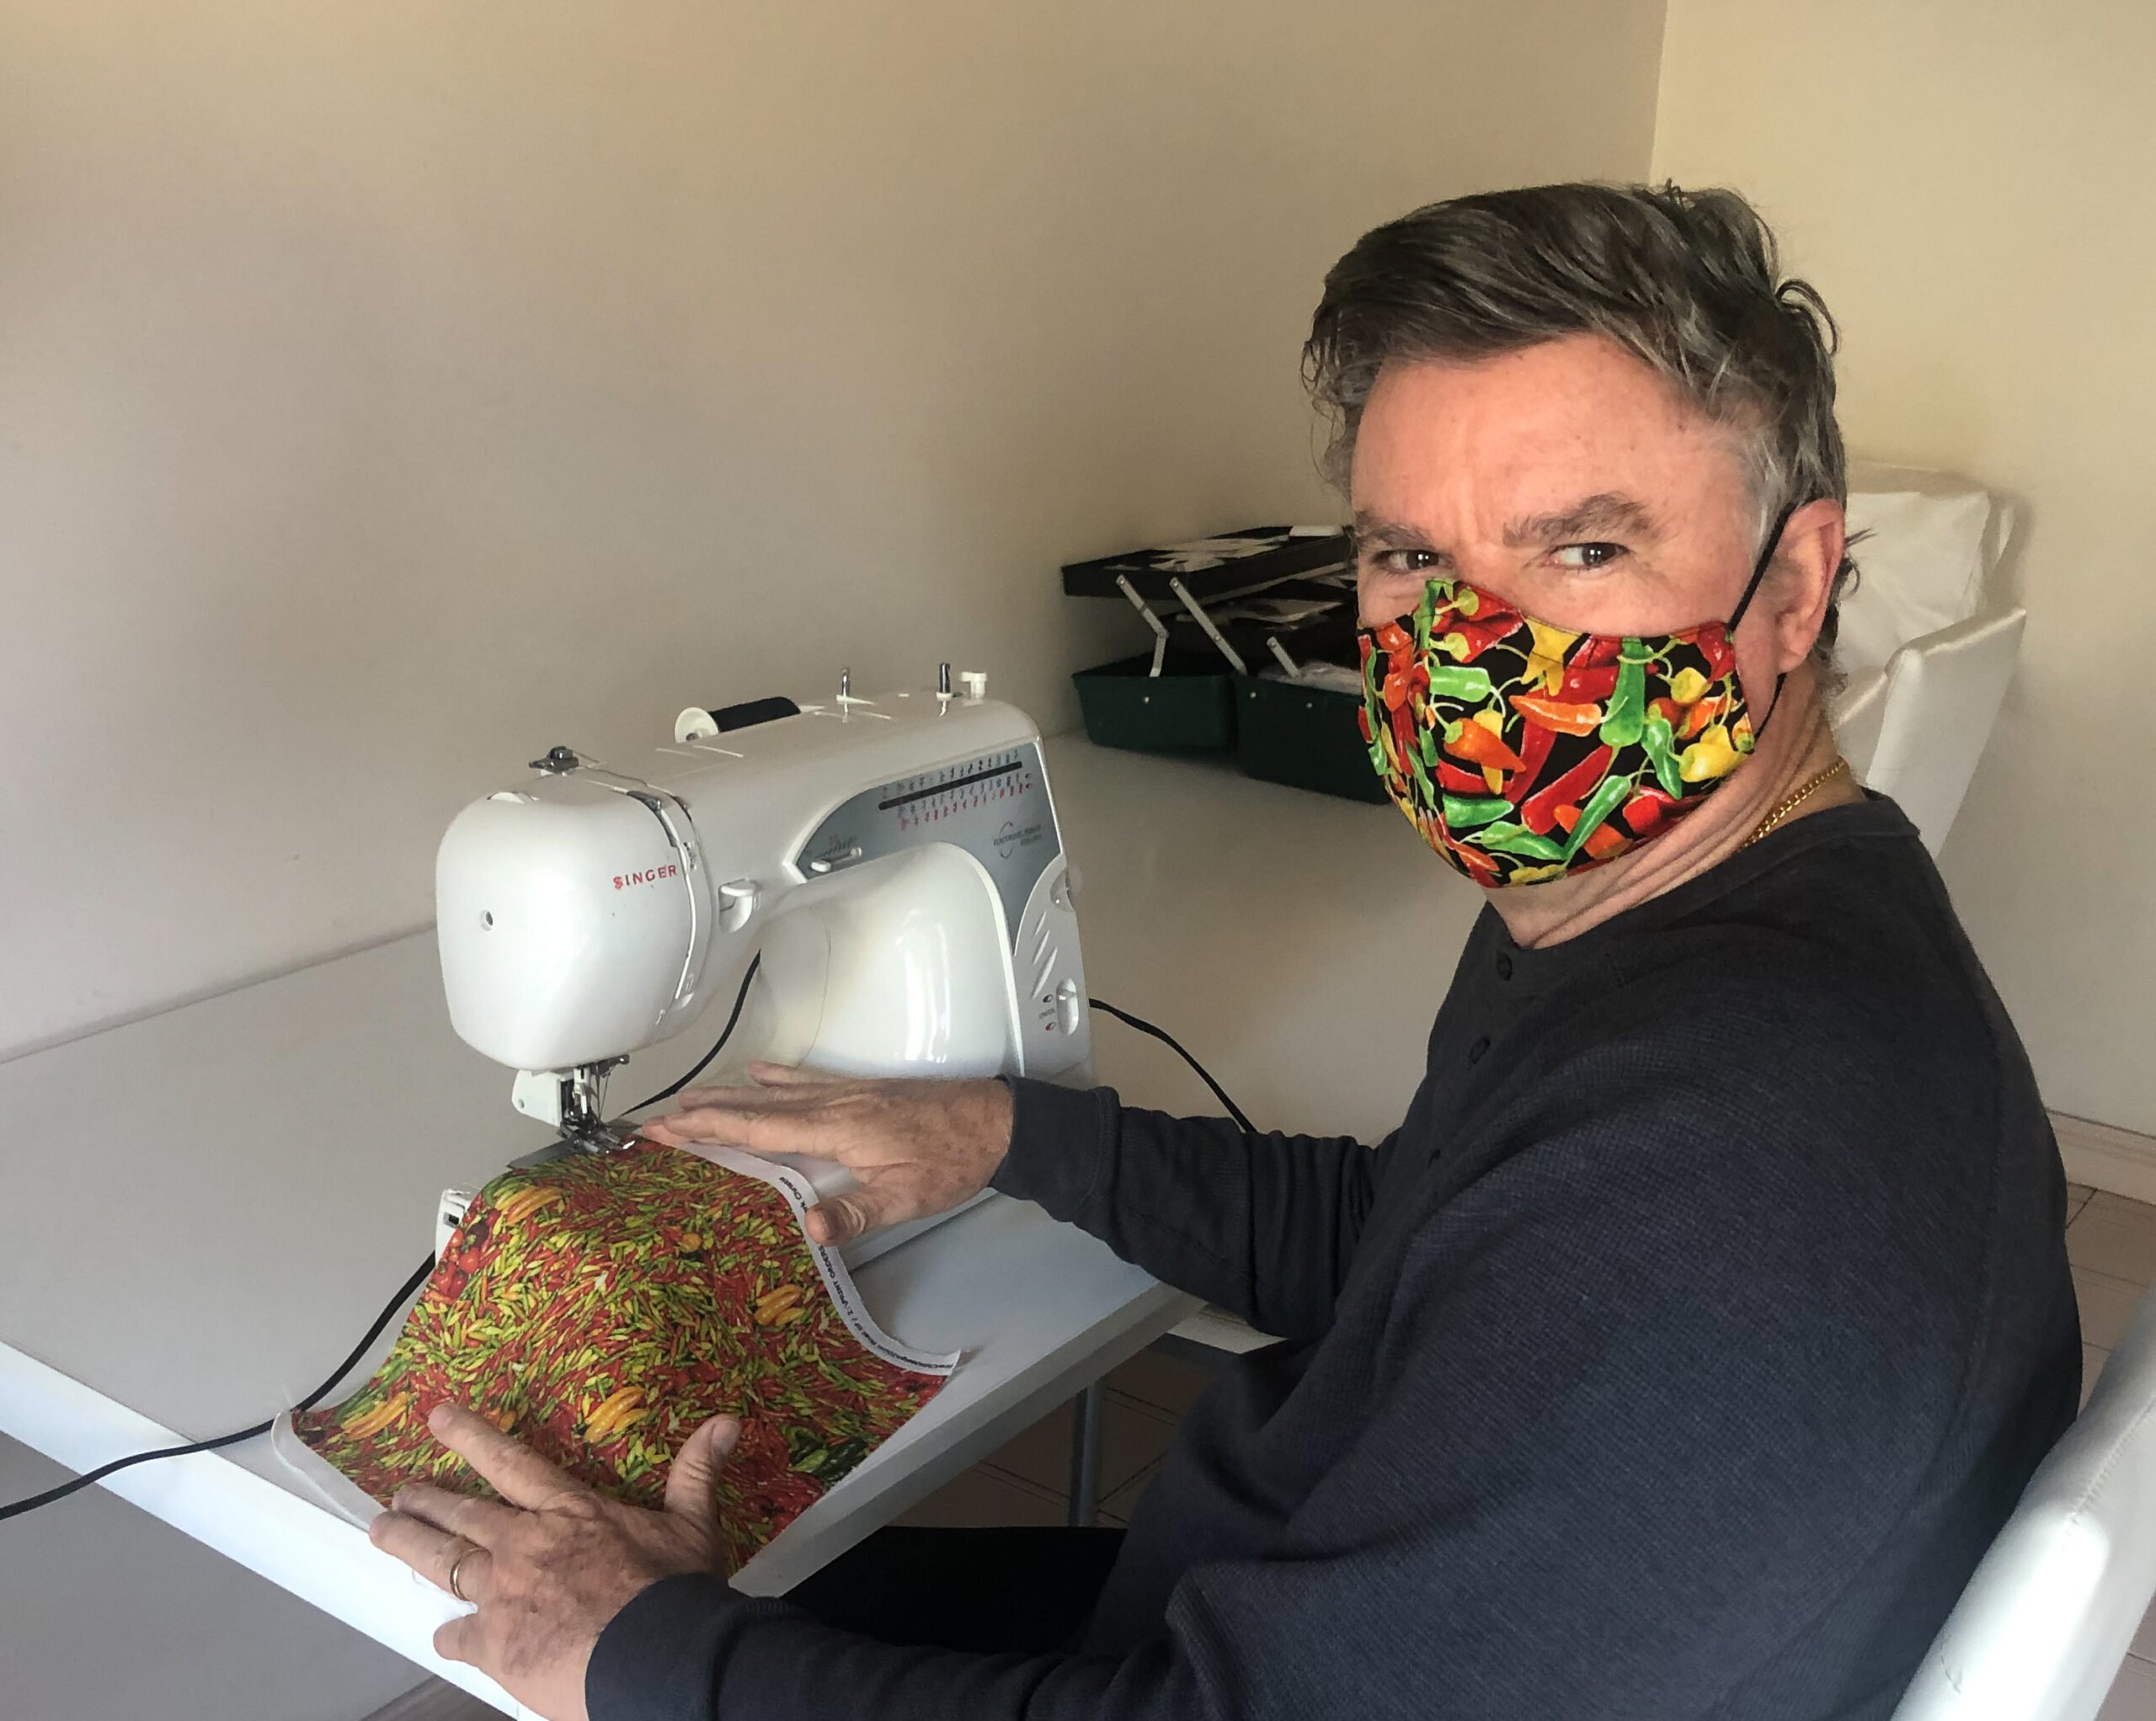
- Print enough material (2 * 1.4m) to make a 2XL Hawaiian Shirt
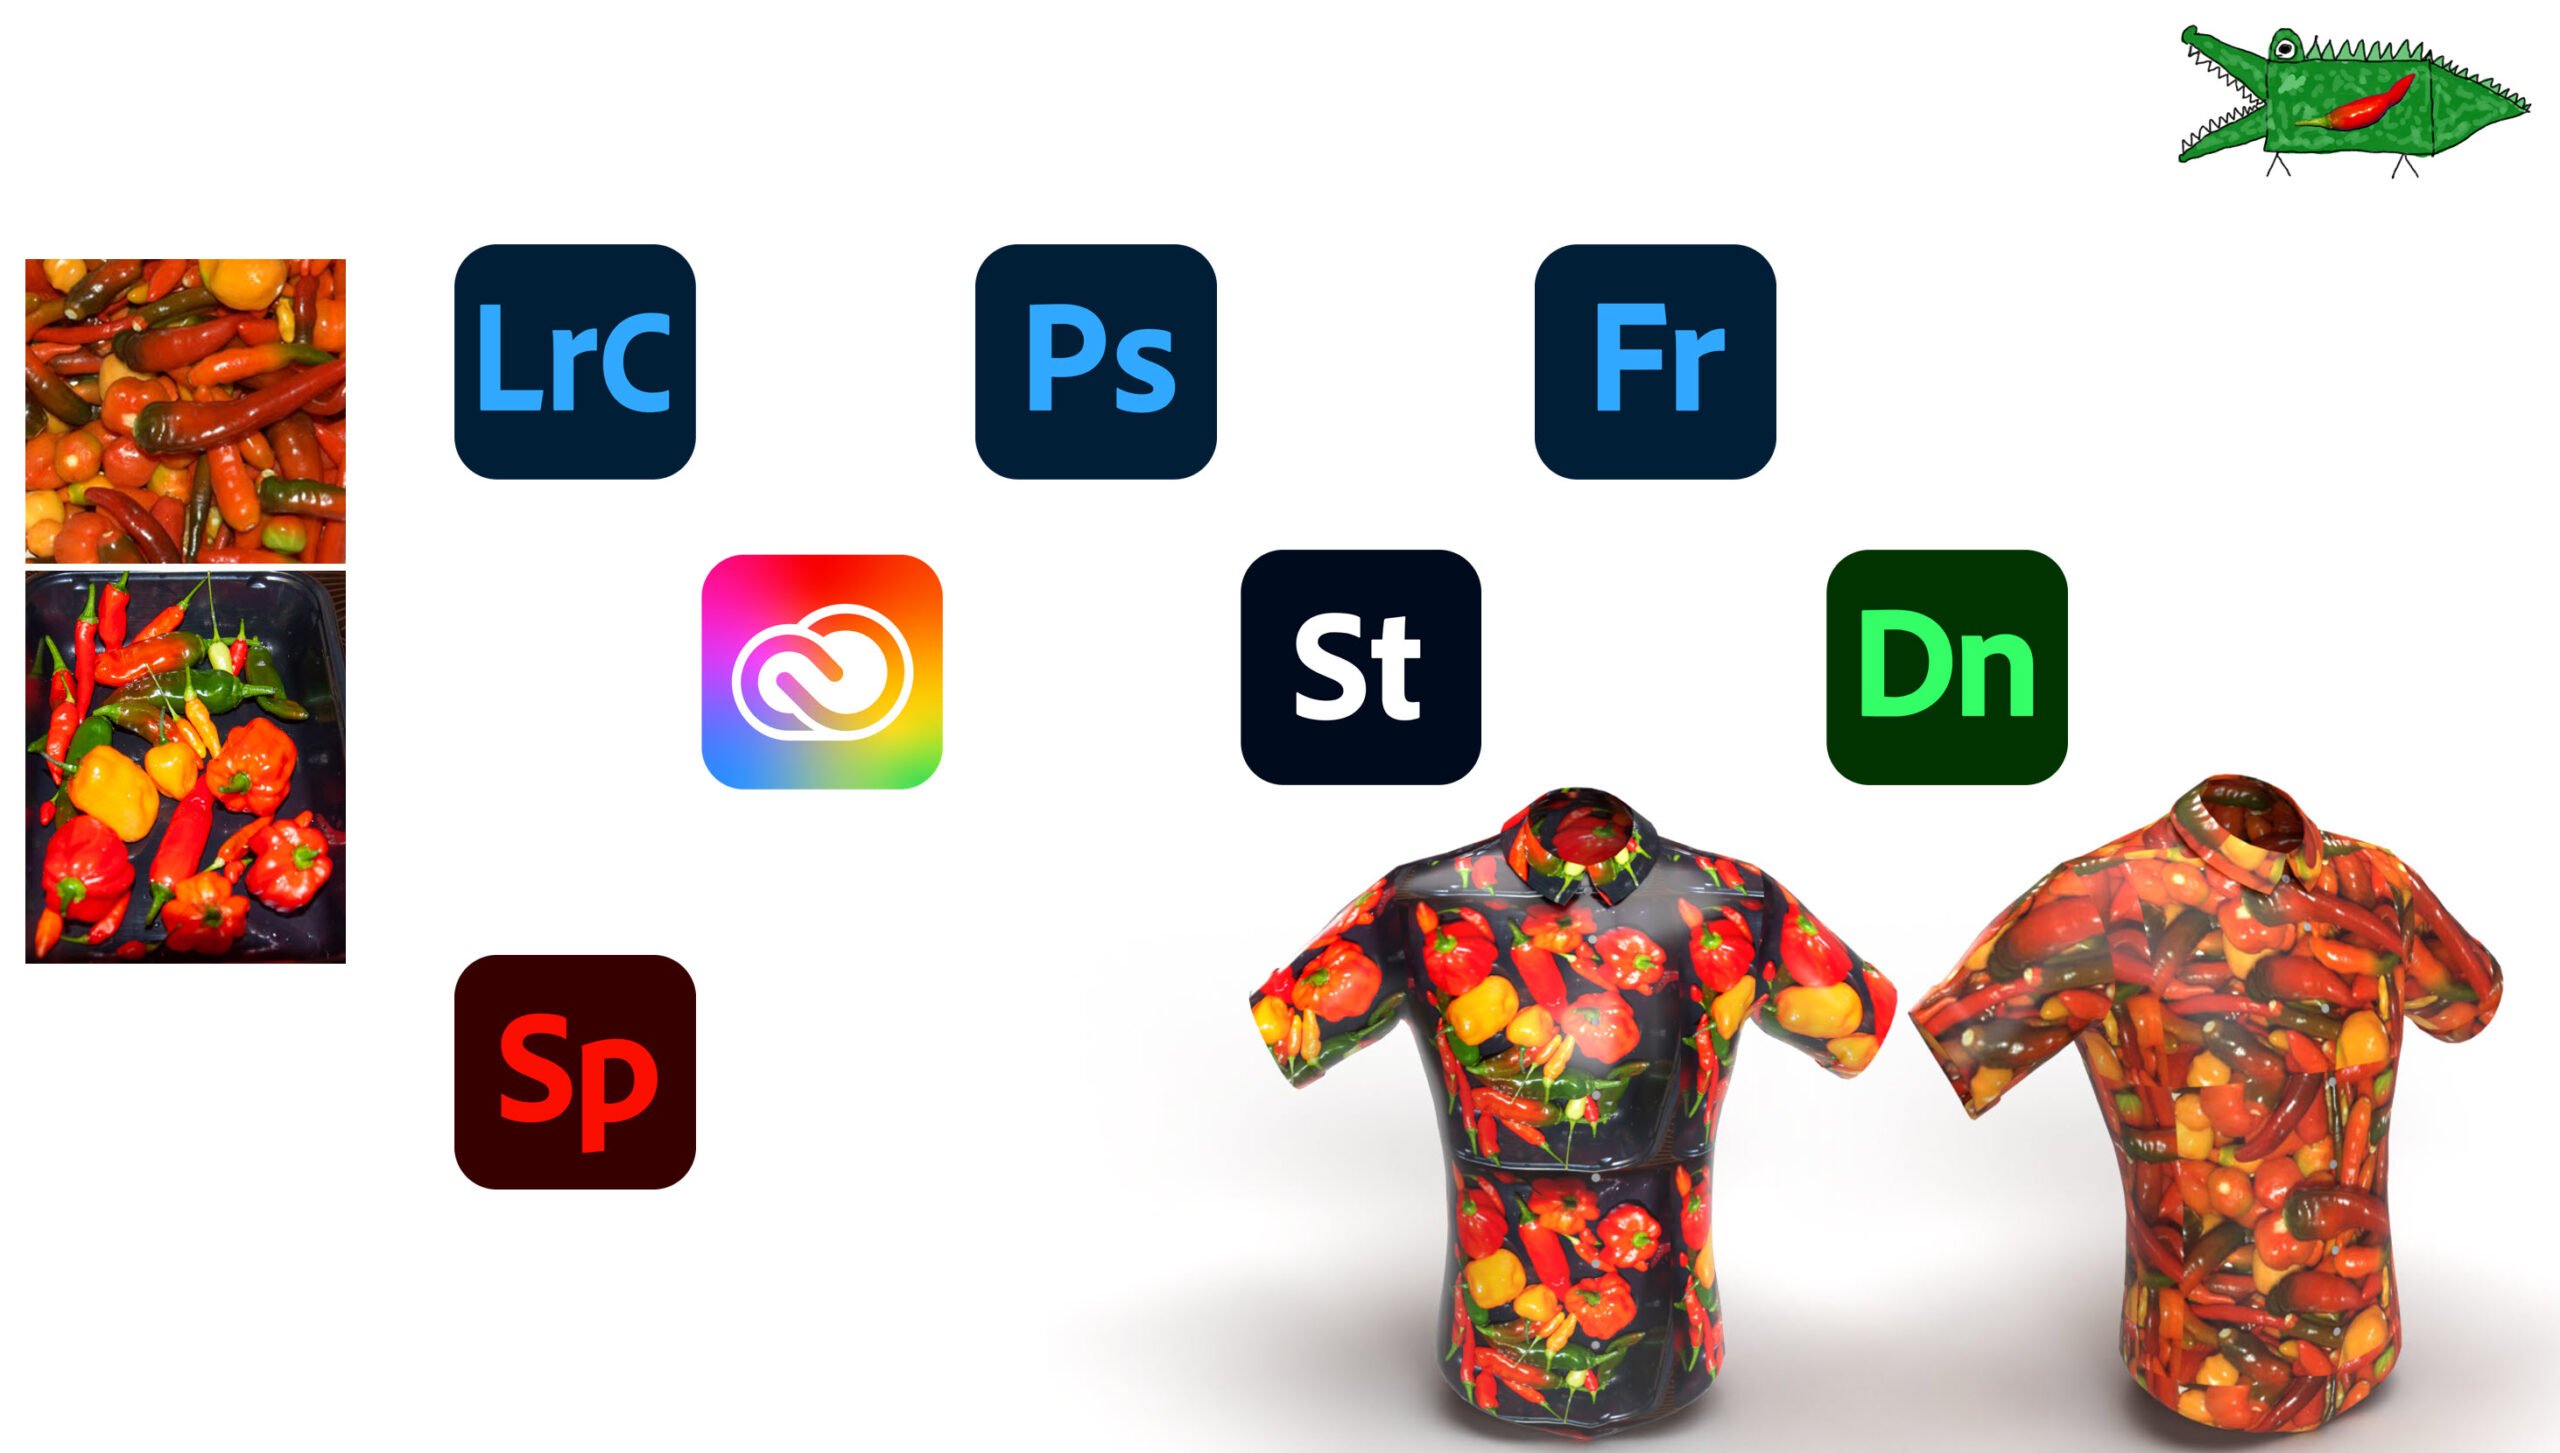
Let’s have a look at the tools.
Lightroom
 I use Lightroom to store, tag and select the photographs I thought were the best from the many hundreds I had taken over the years. Copies of the best of the best were made into a creative cloud library set up specifically for this task.
- Photograph chillies
- Upload to Lightroom
- Tag photos and add metadata
…years later
- Search for photos tagged chillies
- View the thumbnails and make picks or selections
- Either move to “cleanup” phase in Photoshop or copy selected files to a work location library and then use Photoshop to clean up the selected files
Photoshop
 Without doing any cleanup of the photographs I was able to import them into Adobe dimension and place those images onto 3D models of shirts which I had obtained from Adobe stock.
This gave me a chance see which colour combinations combined with the relative size of the fruit and the choice of background for the material.
This meant that I could select the best images and only clean up around the edges of those photographs which I have selected as choices from seeing them in Adobe dimension.
In Photoshop I had to consider the following:
- Check and set your canvas output setting
- Your cloth print width (140cm)
- Your shirt material height (84cm for a 2XL plus extra 1cm for seams)
- Clean up edges and reflections (things that might stand out too much)
- Determine edge colour (black, sunset, dark green, yellow)
- Make sure no deleted areas will appear as white if you have a coloured background
- Create the seamless pattern
- Consider if the seamless pattern has space between pattern elements to allow for sowing seams or other techniques are used to create the seamless art across the centre buttons.
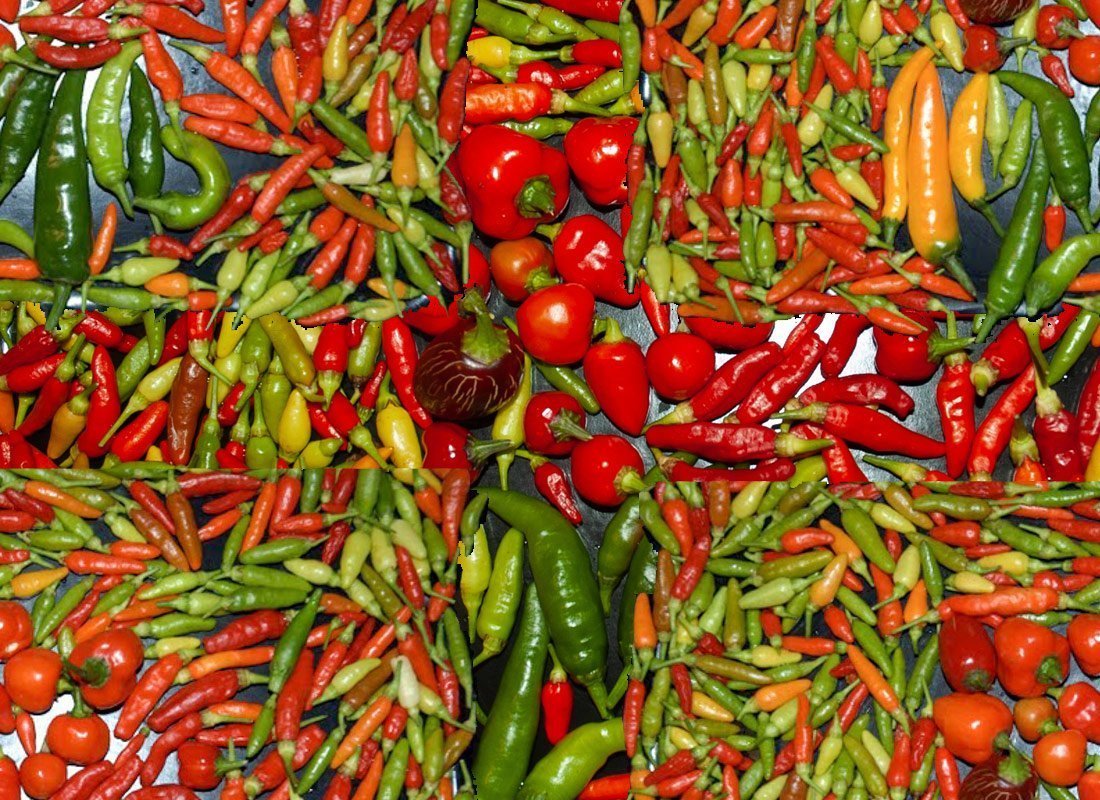
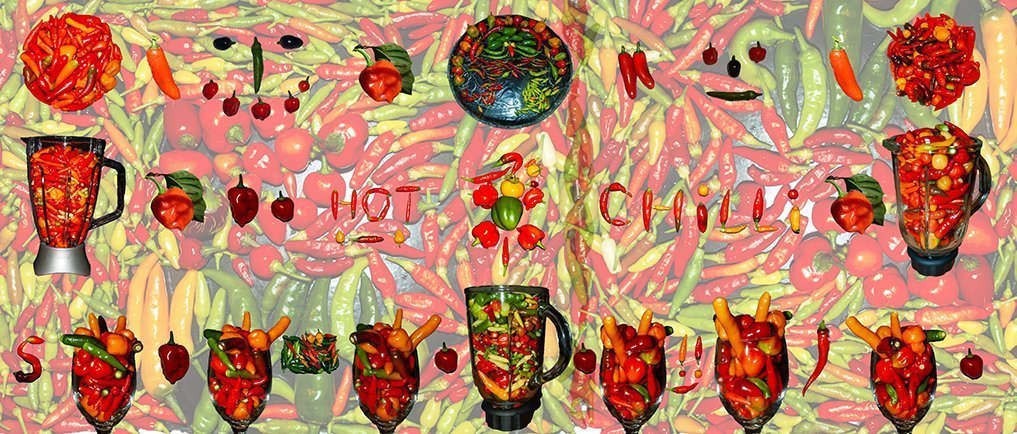
The design of the pattern takes the most time and my intention was always to create a seamless pattern across the cloth using chillies. This involved taking one of my photographs and creating a seamless background and then placing individual larger chillies in the spaces created by separating the photograph into 4 pieces to create the seamless structure.
When you have done that… ideate in Dimension.
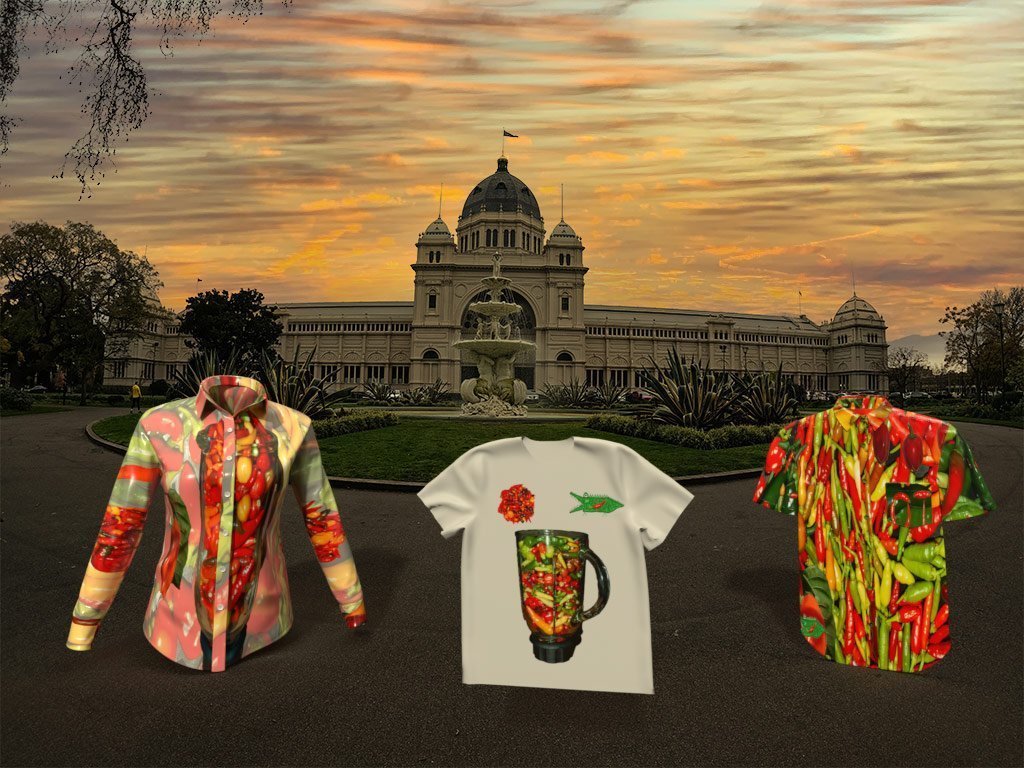
After creating the tile I reimported that back into Adobe dimension to see how it would look on the shirt. By knowing the height of cloth in centimetres required to make my shirt I was able to resize the tile to ensure that the size of the chillies was visible on the shirt to anyone walking towards me.
With the tile and elements within the tile determined, I was then able to save the file as a high-quality export and send that off to the fabric printer to create a swatch. It is a good idea to print your design on a fabric swatch so you can see how the colours and the material work together for what will become an iconic Hawaiian chilli shirt.
Here are some of the samples.
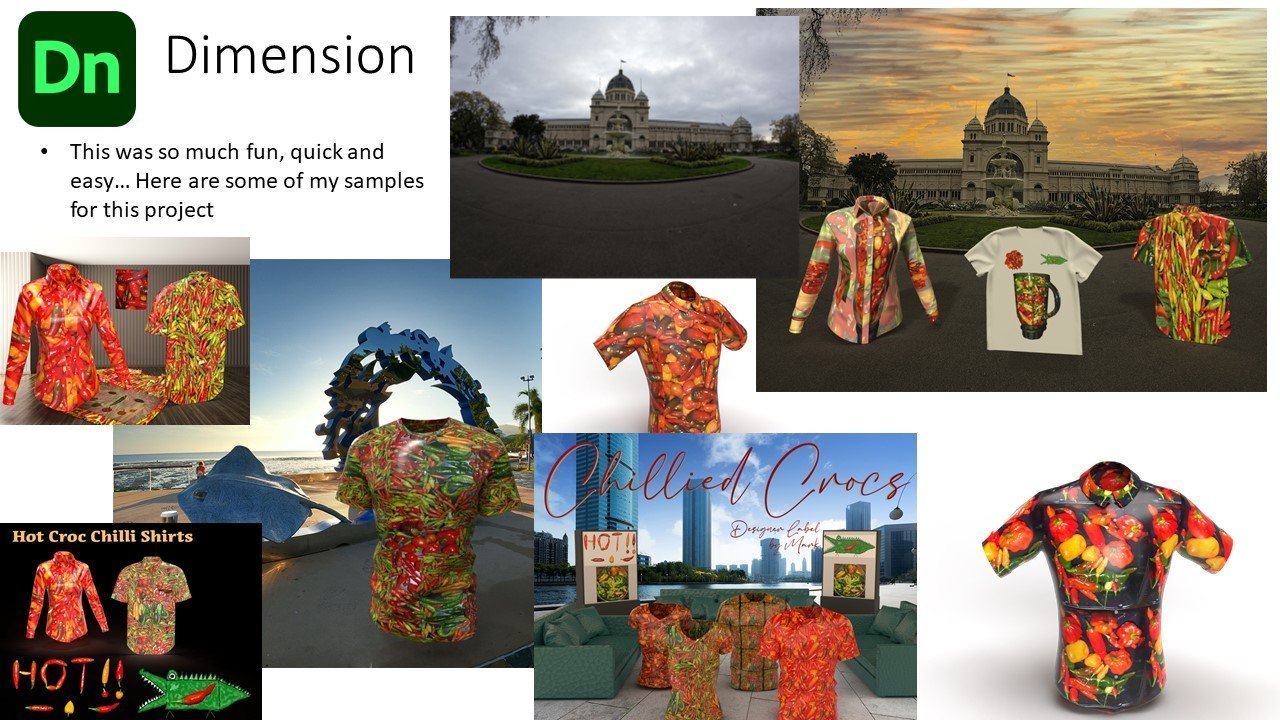
More experiments here in both Photoshop and Dimension. The photograph of the Royal Exhibition centre below was taken on the day I received my first COVID vaccination in that very building.
You can of course printout swatches on paper and I would recommend this as it is cheaper for initial experiments however will not provide you with a realistic representation of what your final product will look like.
My first swatch highlighted to me that the size of my chillies were too small.
It is important to work with your printer company and tailor to understand the size and quality of the material you will be receiving back and the cloth cuts required to make your shirt. In my case the cloth width is 140 cm and the height required for a 2XL shirt is 87 cm.
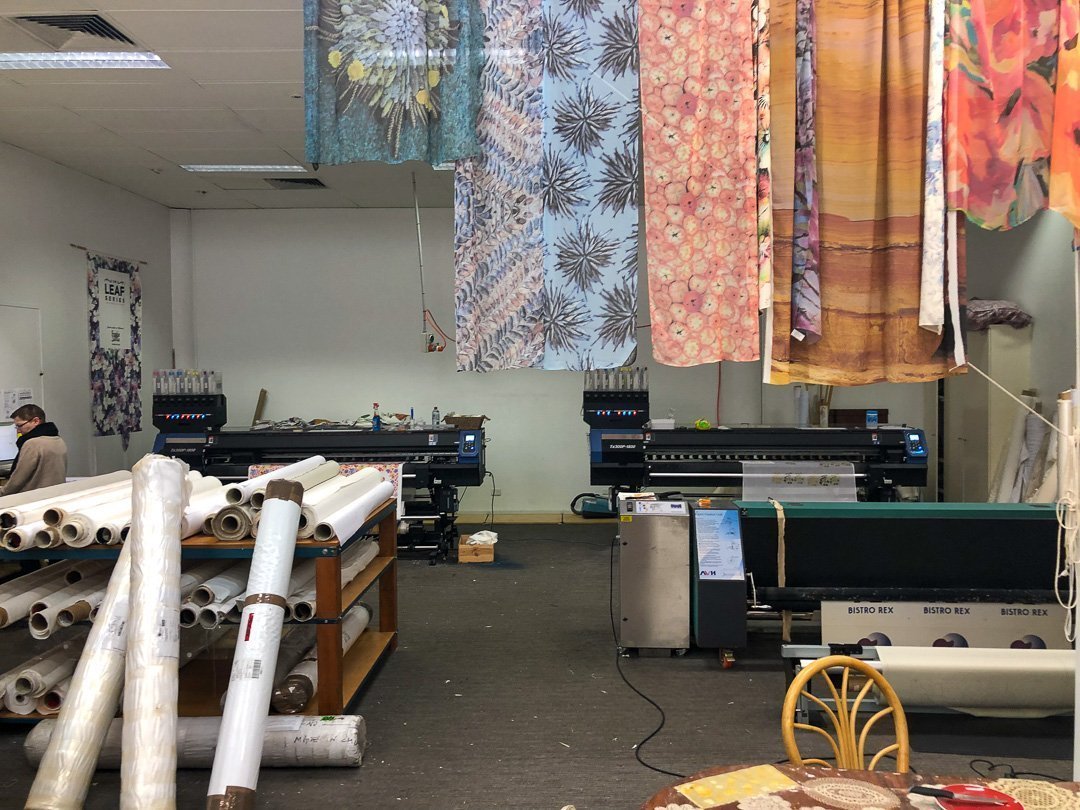
The photographs below were taken at the cloth printer I selected to create my first swatch.
They have not only cloth pattern printing machines but heat binding machines that makes sure the pattern colours stay within the cloth. It was exciting to go to the shop and collect my print.
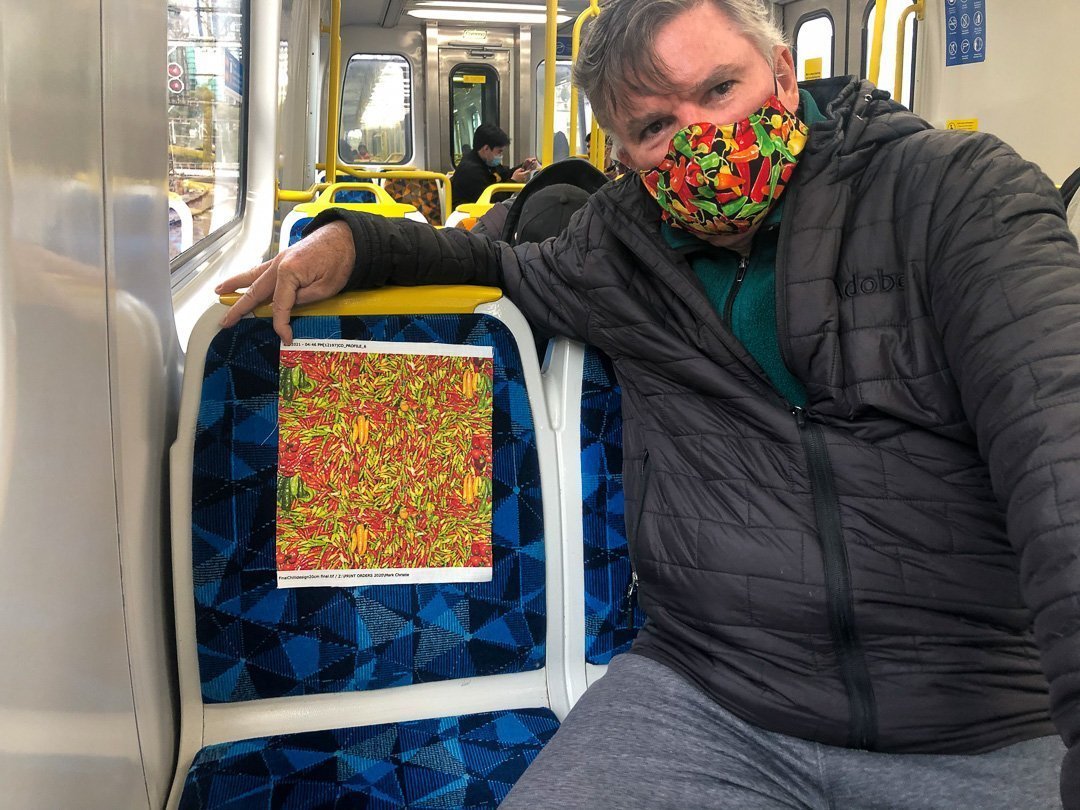
Heading back on the train I was able to compare the pattern for possible use as a train fabric replacement. It could work.
Logo Design – Fresco
Having determined, designed and prepared my chilli tiles or swatches, I was now ready to design my logo. This is an exercise in ideation. My primary challenge is that I don’t know how to draw so for this I called upon the art for kids hub YouTube channel to provide me with technical guidance and inspiration so decided on a cartoon crocodile with a chilli in its stomach.
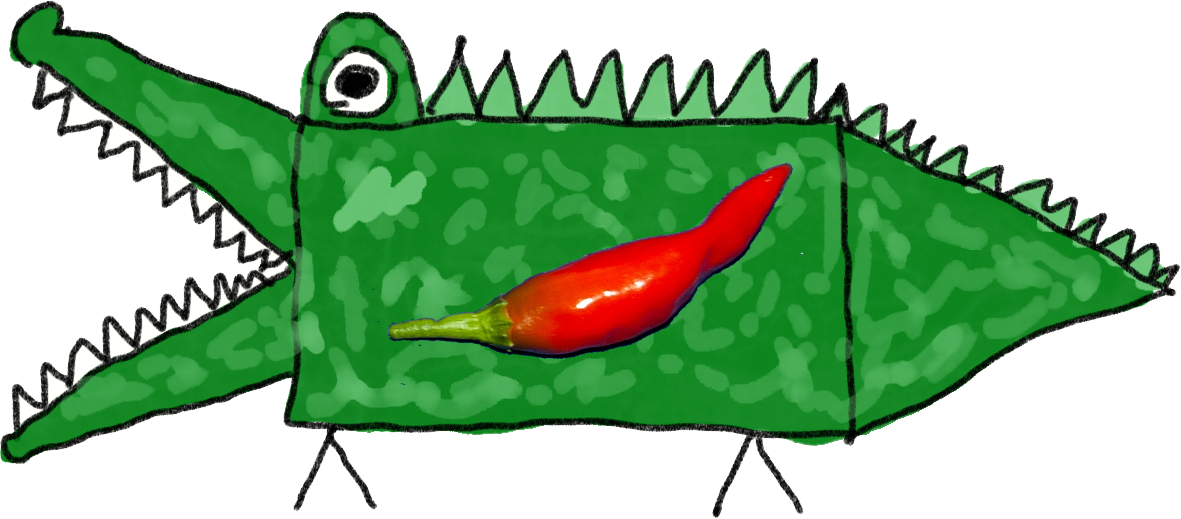
I decided to use Adobe Fresco to create my organic looking crocodile and here is how I did that.
At this stage I still haven’t got my Hawaiian shirt. However I am but a single step away from ordering the fabric required to make it. More importantly my process of ideation has delivered me the steps and pragmatic information I need to sidestep some of the problems I could have faced if I hadn’t engaged the use of the Adobe products before committing to fabric printing.
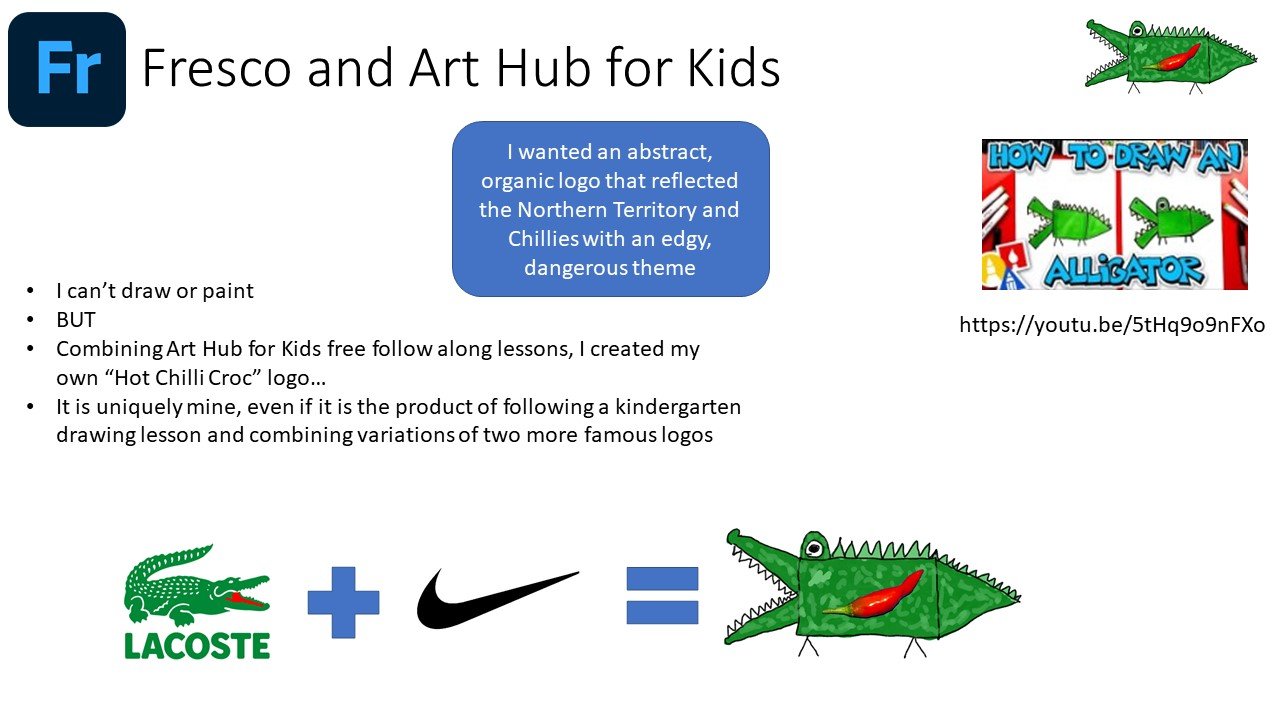
I wanted an abstract, organic logo that reflected the Northern Territory and Chillies with an edgy, dangerous theme…
- I can’t draw or paint
BUT
- Combining Art Hub for Kids free follow along lessons, I created my own “Hot Chilli Croc” logo…
- It is uniquely mine, even if it is the product of following a kindergarten drawing lesson and combining variations of two more famous logos
BUT •Combining Art Hub for Kids free follow along lessons, I created my own “Hot Chilli Croc” logo… •It is un
At this stage I still haven’t got my Hawaiian shirt. However I am but a single step away from ordering the fabric required to make it. More importantly my process of ideation has delivered me the steps and pragmatic information I need to sidestep some of the problems I could have faced if I hadn’t engaged the use of the Adobe products before committing to fabric printing.
So let me recap the process and workflow used to get this far.
At many points along the journey a teacher or student can substitute whatever works for them. Photographs of aeroplanes could be substituted for chillies. Cushions or tablecloths could be substituted for a Hawaiian shirt. Seamless pattern tiles could be replaced by logos or poster images.
The process of collecting assets into a collection area like Lightroom before making a selection of the best of the best is a valid starting point for many of these kinds of projects.
Editing and refining your images into either seamless tiles or standalone works of art to be incorporated into their final destination is where the image editing tools such as photoshop, Illustrator and Fresco help shape your idea into a final product. Tools like Adobe dimension help you visualise what the final product will look like before you commit to creating the printed material.
Documenting your process, prototypes can be done in a number of locations using a variety of tools.
In finalising this presentation into a spark page, there have been a number of intermediate steps along the way. These included PowerPoint, Word and dictation software.
The diagram below maps out the process flow of this journey.
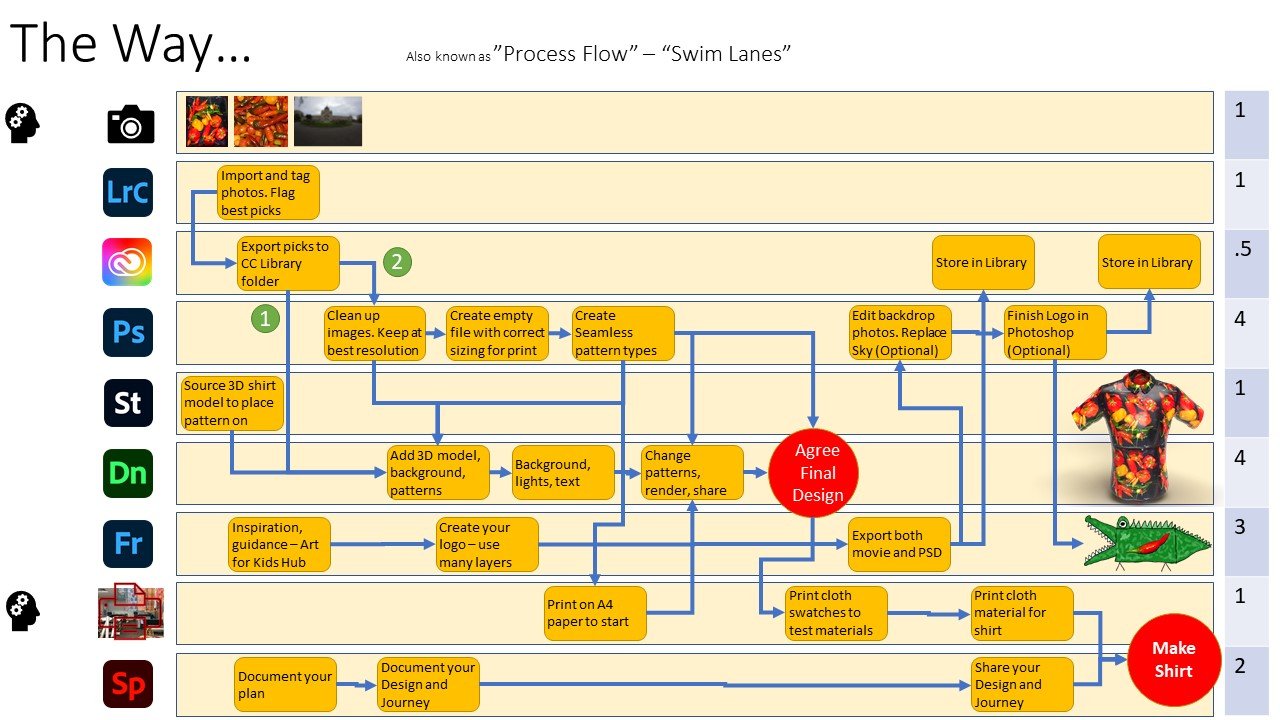
Recapping through this swim lane process.
Collect, sort, refine and select…
The process of collecting assets into a tool like Lightroom before making a selection of the best of the best is a good starting point for these kinds of projects. Tagging your photographs with keywords, adding to a collection, exporting or identifying the best images for your project sets you up for the next stage.
Ideation and creation
Editing and refining your images into either seamless tiles or standalone works of art to be incorporated into their final destination is where the image editing tools such as photoshop, Illustrator and Fresco help shape your idea into a final product. Tools like Adobe dimension help you visualise what the final product will look like before you commit to creating the printed material. Adobe Stock can provide imagery or 3D models to support your ideation process.
Fresco helped me not only ideate, but create something I drew, drawing upon many inputs to have something uniquely mine to share.
Finalising your output
Printing swatches to paper or cloth before committing to the printed pattern on metres of material is what comes next before tailoring your shirt.
Spark Page and other tools
Documenting your process, prototypes can be done in a number of locations using a variety of tools. It occurs parallel to your activity and can also serve as evidence of teaching, learning and participation. Spark page is an excellent choice for this journaling process. Below I have embedded the Spark Page I created which is an amalgamation of this blog, the video and assets.

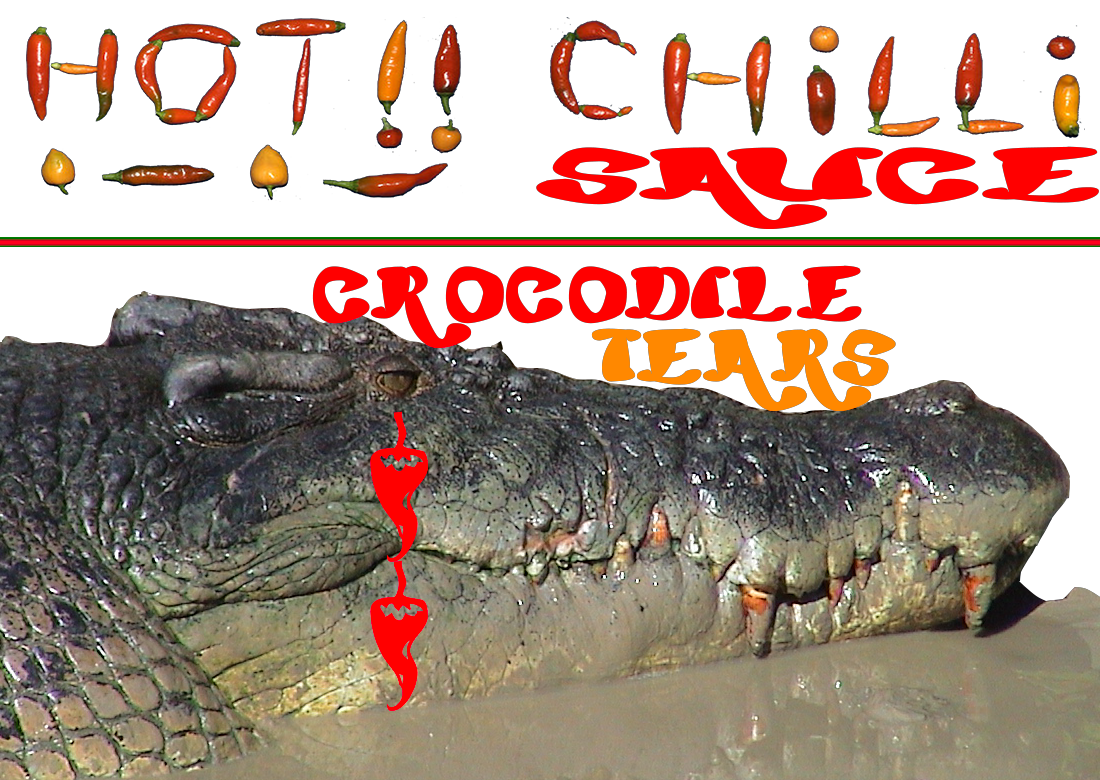
A long time in the making.
Before I even thought about creating a Hawaiian Chilli themed shirt, I had created a chilli sauce from my chillies. This was the logo I created back then – more than a decade ago. Adobe makes it so much easier to take an idea which has stayed essentially the same over more than a decade and transform that into something I like.
Final Design
My journey continues and is not yet finished… come back soon to see if the shirt has been finished.
It also gives me confidence that educators and students alike can adapt this process for their own purposes. Ideation might be about the creation of ideas but the journey of ideation delivers rich learning to the individual as well. Ideate, create and promulgate. Thank you.